

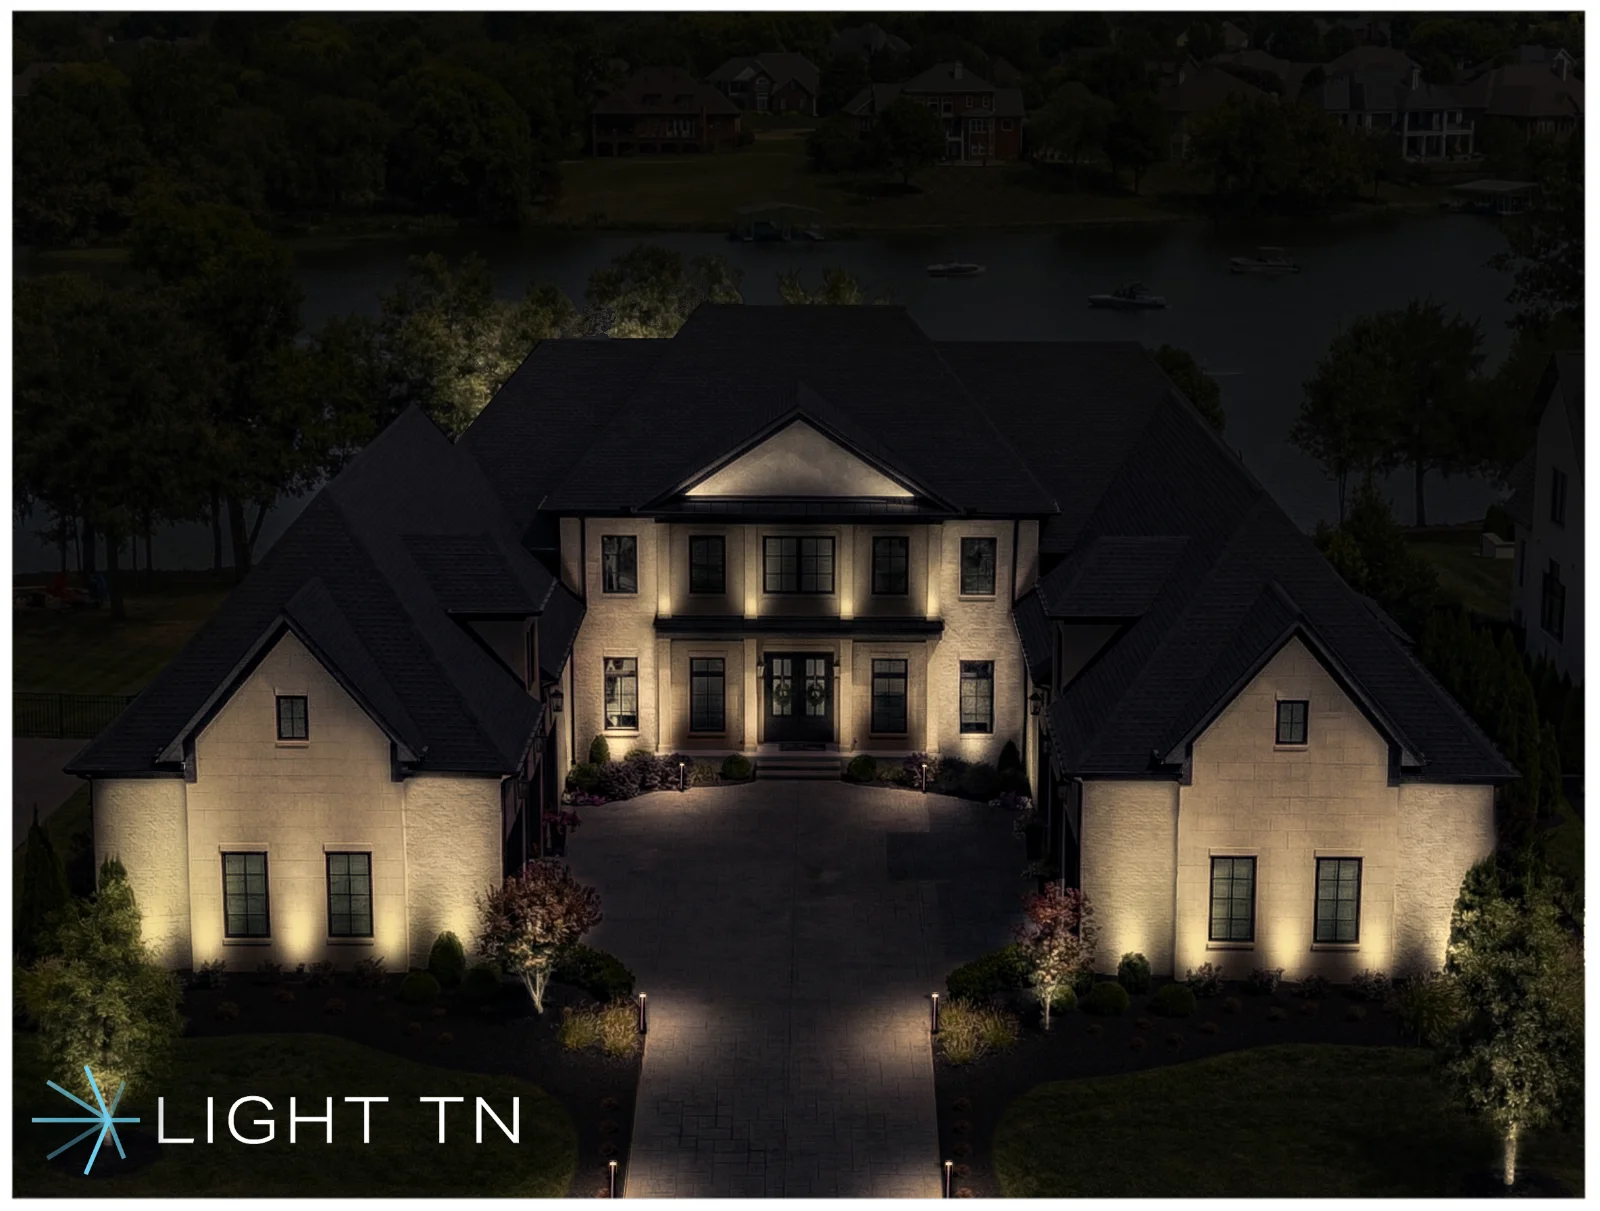
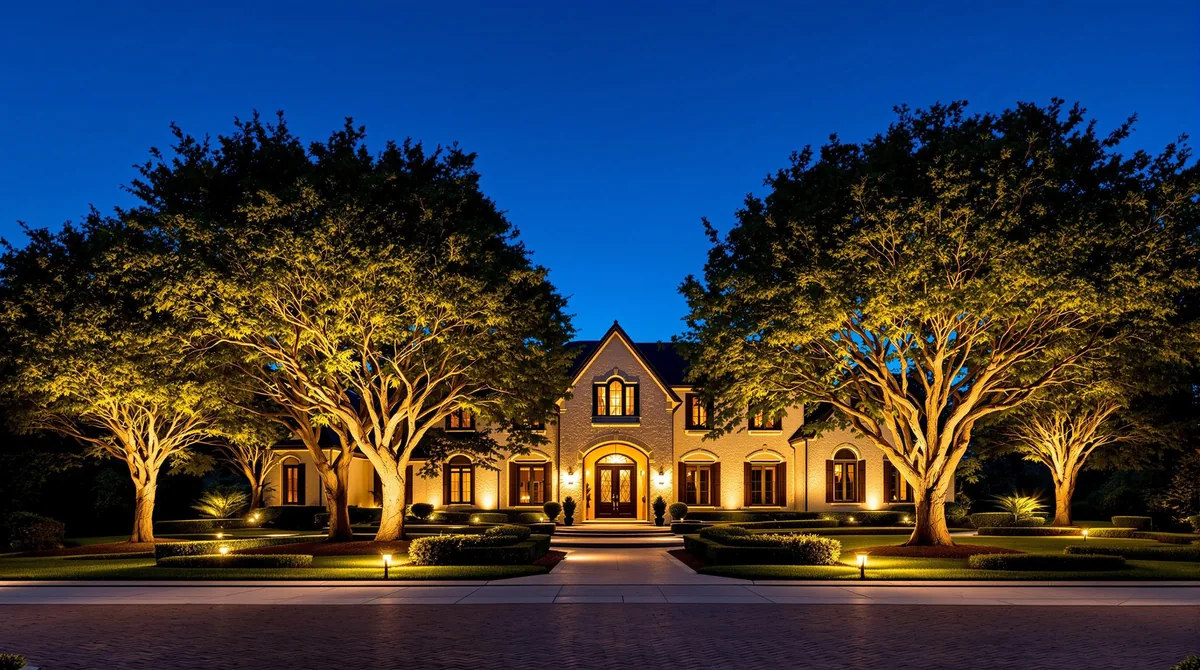
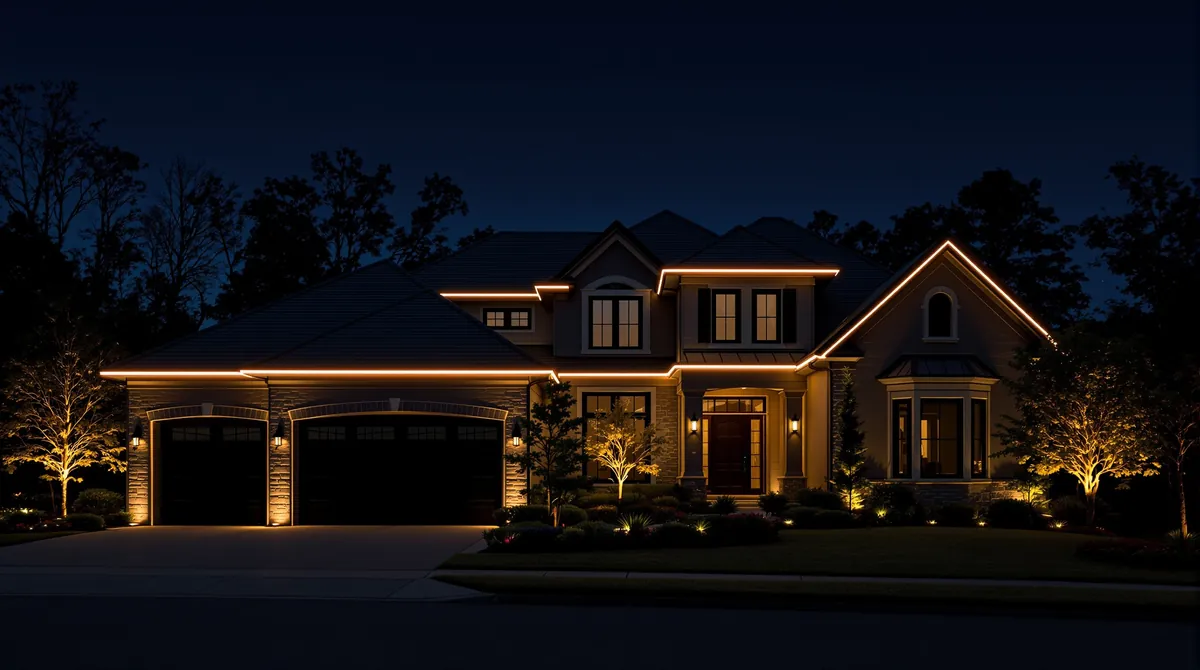
Permanent roofline lighting is installed once, so the details matter. The system has to follow the house cleanly, survive Middle Tennessee weather, and give you useful warm-white and color scenes without looking like temporary lights.
This guide explains the process. For the main service, see permanent roofline lighting.
01Roofline walkthrough
Light TN starts by walking the house, measuring the visible roofline, checking soffits and fascia, confirming power access, and looking for places where the system can be mounted cleanly.
If an HOA or neighborhood standard matters, that is part of the conversation before installation begins.
02System design
The design defines everyday warm white, color use, zones, controller placement, power path, and how the track will sit against the house. The goal is a system that looks architectural, not seasonal.
Light TN plans the roofline lighting alongside other exterior lighting when the property needs a full night composition.
03Installation
Installation includes discreet mounting, clean wire routing, weather-ready connections, controller setup, and safe ladder work. The track should read as a clean line by day and a controlled line of light by night.
The best installation is the one you do not notice until the lights come on.
04App setup and scenes
After the hardware is installed, Light TN sets up the app, connects the system, creates scenes, and shows you how to schedule warm white, holiday color, and event settings.
Most homeowners use warm white as the default and save color for specific moments.
05Final walkthrough
The final walkthrough confirms that every zone works, scenes are programmed, and the owner understands the control system. Light TN also reviews maintenance and warranty basics.
06Local support
Permanent lighting should have local support. If you need help adjusting scenes, expanding the system, or pairing it with landscape lighting, Light TN is based here in Middle Tennessee.